Taking down work orders manually can take somewhere between 15 and 30 minutes per job. So, in a shop handling 20–30 repair orders a day, that’s at least 15 productive hours gone just to get work onto the floor.
When you add in scheduling gaps, duplicate entries, delayed parts sourcing, misplaced job cards, and any other mishaps, you’re spending more time creating the work orders rather than actually doing the work. This is why so many shops feel like they’re constantly behind.
This is definitely a process problem, not a people problem, and process problems always have solutions. One such solution is Way Repair Tech.
Step 1: Find or add the customer
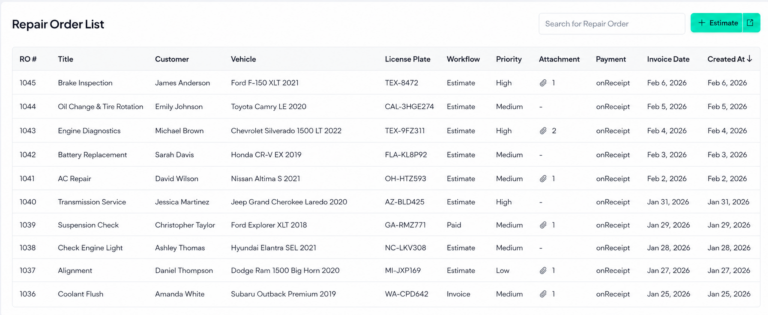
Start from your Workboard and head to the “Estimate” section. There are two ways you can go from there. If it’s a returning customer, you can search by their name or phone number. You don’t have to dig through your handwritten notes or sort through spreadsheets. This also solves the problem of finding duplicate entries.
Want to add a new customer? Click “Add Customer” and enter their details like name, email, phone number, and address. Tap “Save”, and you’ve added your new customer! It takes under a minute, and they’re in your system for every visit moving forward.
Step 2: Add the vehicle
Click on the customer’s name to attach a vehicle. You’ve got three ways to look it up: by license plate number, VIN, or manual entry, so no matter what information you’re dealing with, you’re covered.
Select the correct vehicle from the options that appear, enter the current mileage, and you’re ready to build the repair order.
Step 3: Build the estimate
Once you save the vehicle information, hit the “Create Repair Order” button.
Browse for the necessary services in the “Search and Add Canned Services” section. You’ll find a drop-down with all the services you require. You just have to select the appropriate one for the customer. This way, you don’t have to manually add services every time.
You’ll see that the estimate has now been pre-filled with the service lines for this job, including labor and parts.
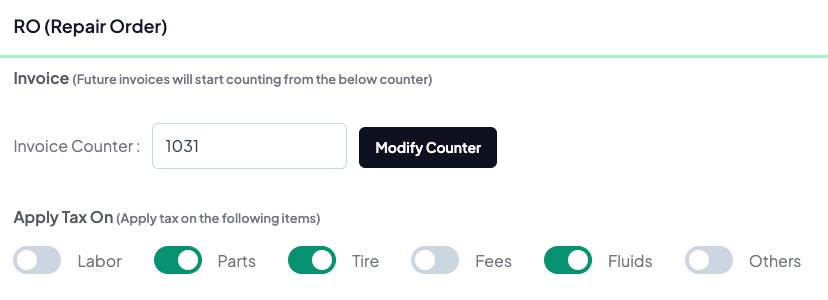
Need to adjust for a discount or a special situation? You can edit the pricing right there before it’s sent out.
Step 4: Get the estimate approved
Now, you can send the estimate to the customer directly via email or SMS. They can review and approve it from their phone without calling back.
If you already talked it through in person or over the phone, you can authorize it yourself, right then and there. Either way, mark it as approved, and it’s ready to move.
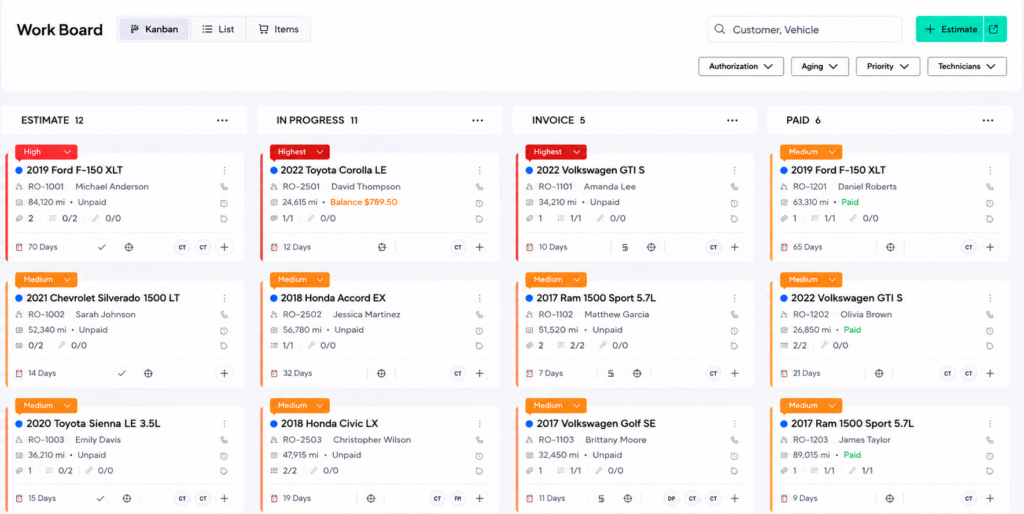
Step 5: Assign it to your workflow
Once approved, drag the job into the right lane on your workboard or update the workflow status manually with a click. Every tech knows what’s queued, and what’s in progress.
Step 6: Process payment
Convert the RO into an invoice using the same method as the previous step, and you’re ready to process the payment. Update the workflow status to “Paid” and you’ll receive the invoice once the payment is completed. All that’s left to do is print the invoice to give it to the customer!
The whole picture
You might have a structure to the chaos that works well for now. But in the long run, switching between devices, going through your notes, chasing down approvals, and figuring out last-minute orders does not work out. To keep your shop profitable, shift to a clean and fast work order process with Way Repair Tech.