Is the check engine light on your dashboard turned on, and you have no clue why it’s happening? This is where an OBD2 scanner can help you. From what an OBD is to how to use an OBD2 scanner – we’re breaking down everything you need to know about OBD scanners in this post. Keep reading to know more.
What Is an OBD?
OBD (On-Board Diagnostics) is a system in the vehicle that monitors the performance of the vehicle’s engine and emissions systems. The OBD records live data and help detect any problem in the vehicle. The OBD2 scanner is a device that you can plug into the vehicle’s OBD2 port to access the live data and read the trouble codes. Many options are available today, where the scanner can be manually connected or through Bluetooth and Wi-Fi.

How Does the OBD Work?
The OBD will record the problem detected in the car as DTC (Diagnostic Trouble Code). Car owners or mechanics can plug an OBD scanner into the vehicle to read the code and diagnose the vehicle based on it. OBD2 is the second-generation variant of this system. However, the OBD2 scanner can only help you identify the issue in your vehicle, and you need to visit a mechanic’s shop or use DIY techniques to fix the issue.
What Are the Advantages of Using an OBD2 Scanner?
Here are the advantages of using an OBD2 scanner:
- It can help save you both time and money.
- You no longer have to run to a mechanic’s shop every time there’s trouble in the vehicle.
- You can identify the issue using the OBD2 scanner and fix it yourself if it’s a minor one.
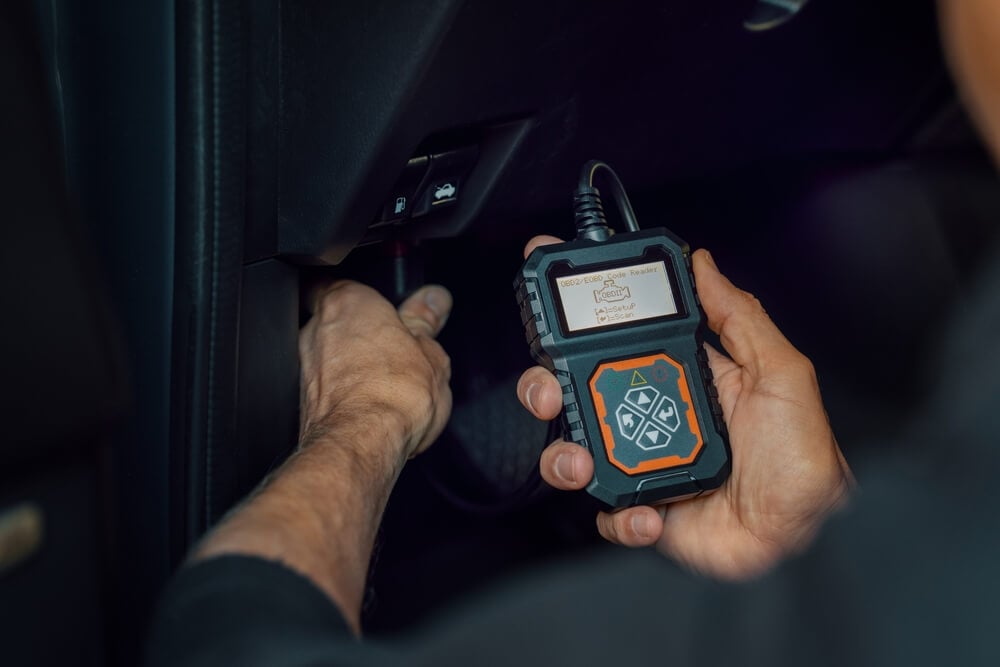
How to Use an OBD2 Scanner
Follow the steps given below to understand how to use an OBD2 scanner.
Step 1
The first step is to locate the DLC (Diagnostic Link Connector). In most cars, this 16-pin connector is found near the left side of the driver’s dashboard underneath the steering column. If you cannot locate it, check the vehicle owner’s manual.
Step 2
Next, the car should be turned OFF before connecting the scanner to the DLC. Depending on the scanner instructions, keep the car in ON or idle mode to connect. After the connection is established, you will notice a message on the scanner.
Step 3
In some scanners, you need to enter the Vehicle Identification Number (VIN). The VIN is on a sticker located in the lower corner of the driver’s side. In some vehicles, it is under the hood or at the front end.
Step 4
You’ll now be able to see the OBD codes. Every DTC code will begin with an alphabet followed by four digits. Here are the letters and the location of the issue.
- P (Powertrain): Engine, transmission, ignition, emissions, and fuel system
- B (Body): Airbags, power steering, and seatbelts
- C (Chassis): Axles, brake fluid, and anti-lock braking system
- U (Undefined): Issues that don’t fall under the P, C, and B.
Step 5
Note down the exact code displayed on the scanner and unplug the scanner. Consequently, interpret the code to decide if it’s a minor issue or a major one. If it’s a huge issue, it’s best to seek professional help.
Renée Martin is a travel and car expert who focuses on road and air travel in the U.S. For the past 6 years, she’s been helping make driving and trip planning easier and budget-friendly for everyday travelers.